.png?alt=media)

| Part Number | Name |
|---|---|
| 910-00714 | NATO Rail 62mm |
| 910-00716 | NATO Rail 90mm |
| 910-00717 | Freefly Adjustable Accessory Mount |
| 910-00718 | Tablet Clamp Mount |
| 910-00719 | Phone Clamp Mount |
| 910-00724 | FXLION Nano One 14.8V 3.4Ah/50Wh |
| 910-00757* | Battery Mount |
| 910-00758 | V-Mount Battery Plate Kit |
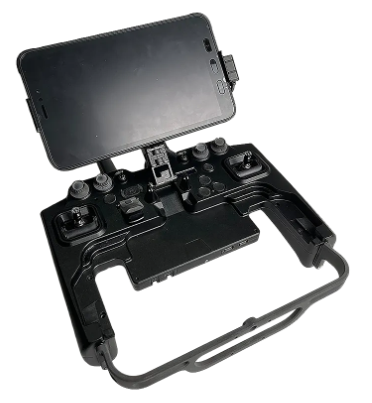
| 910-00759 | Pilot Pro Spare Parts Kit |
| 910-00761 | Replacement Neck Strap |
| 910-00784 | Right Angle Tripod Mount |
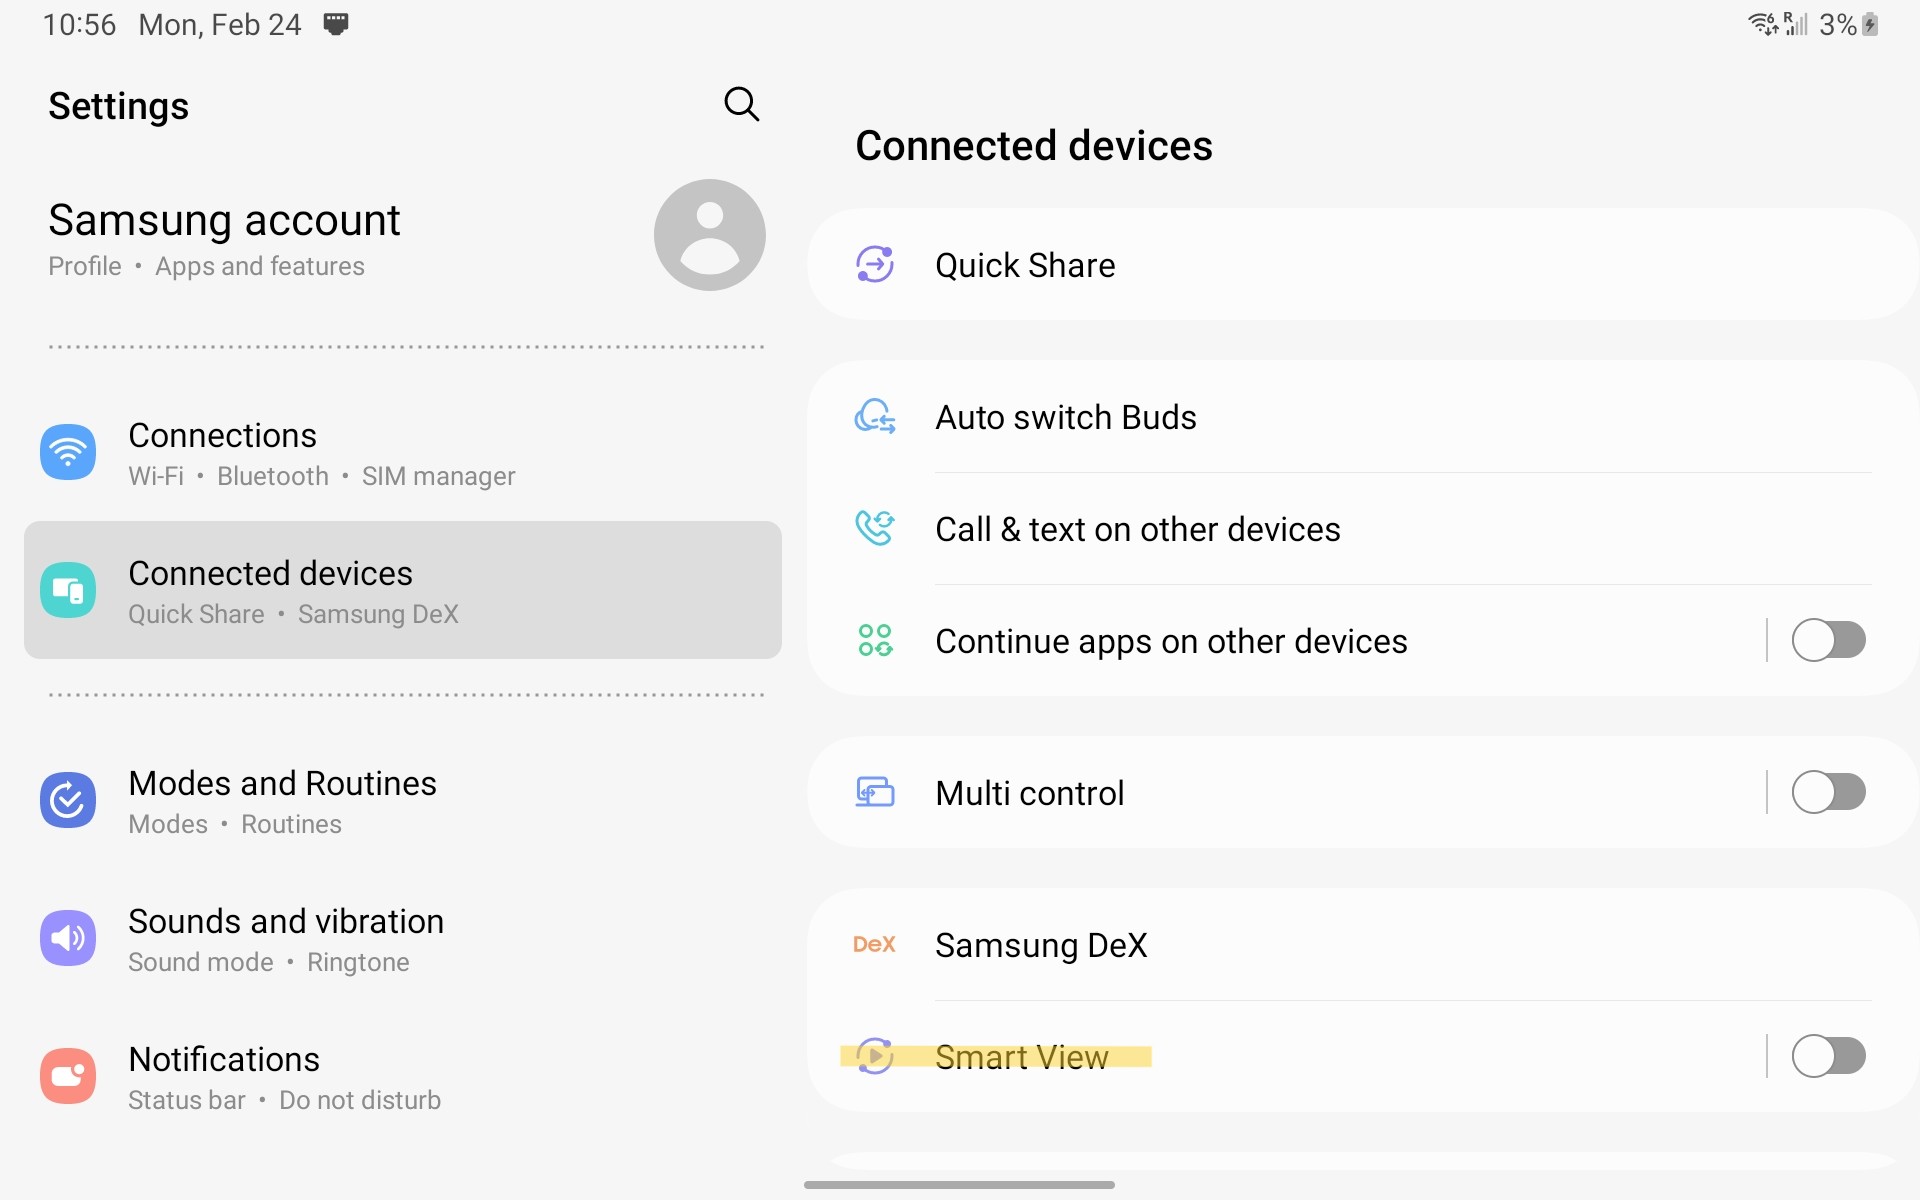
Smart View option for Screen Mirroring
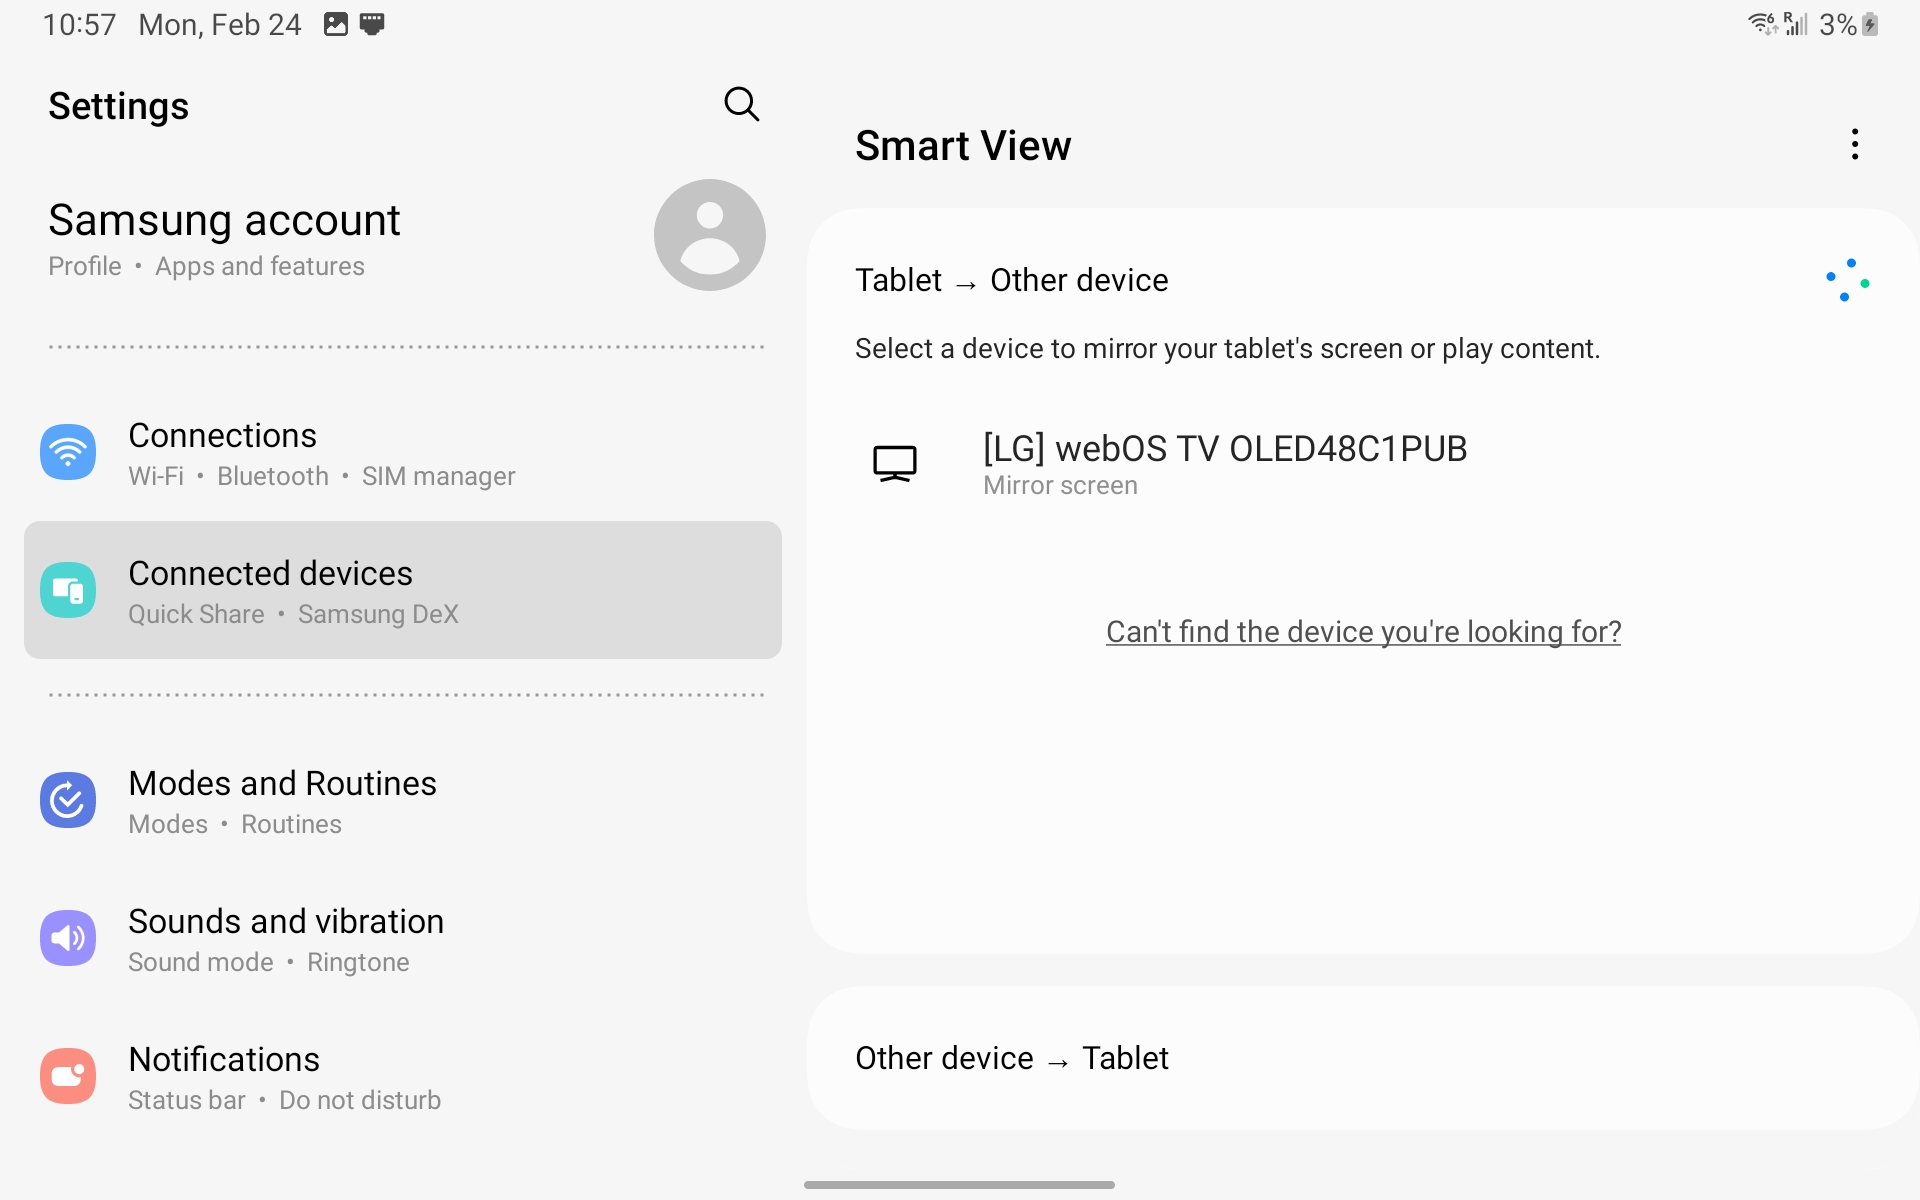
Smart View searching for devices
Enabling Chromecast support on the Tab 5
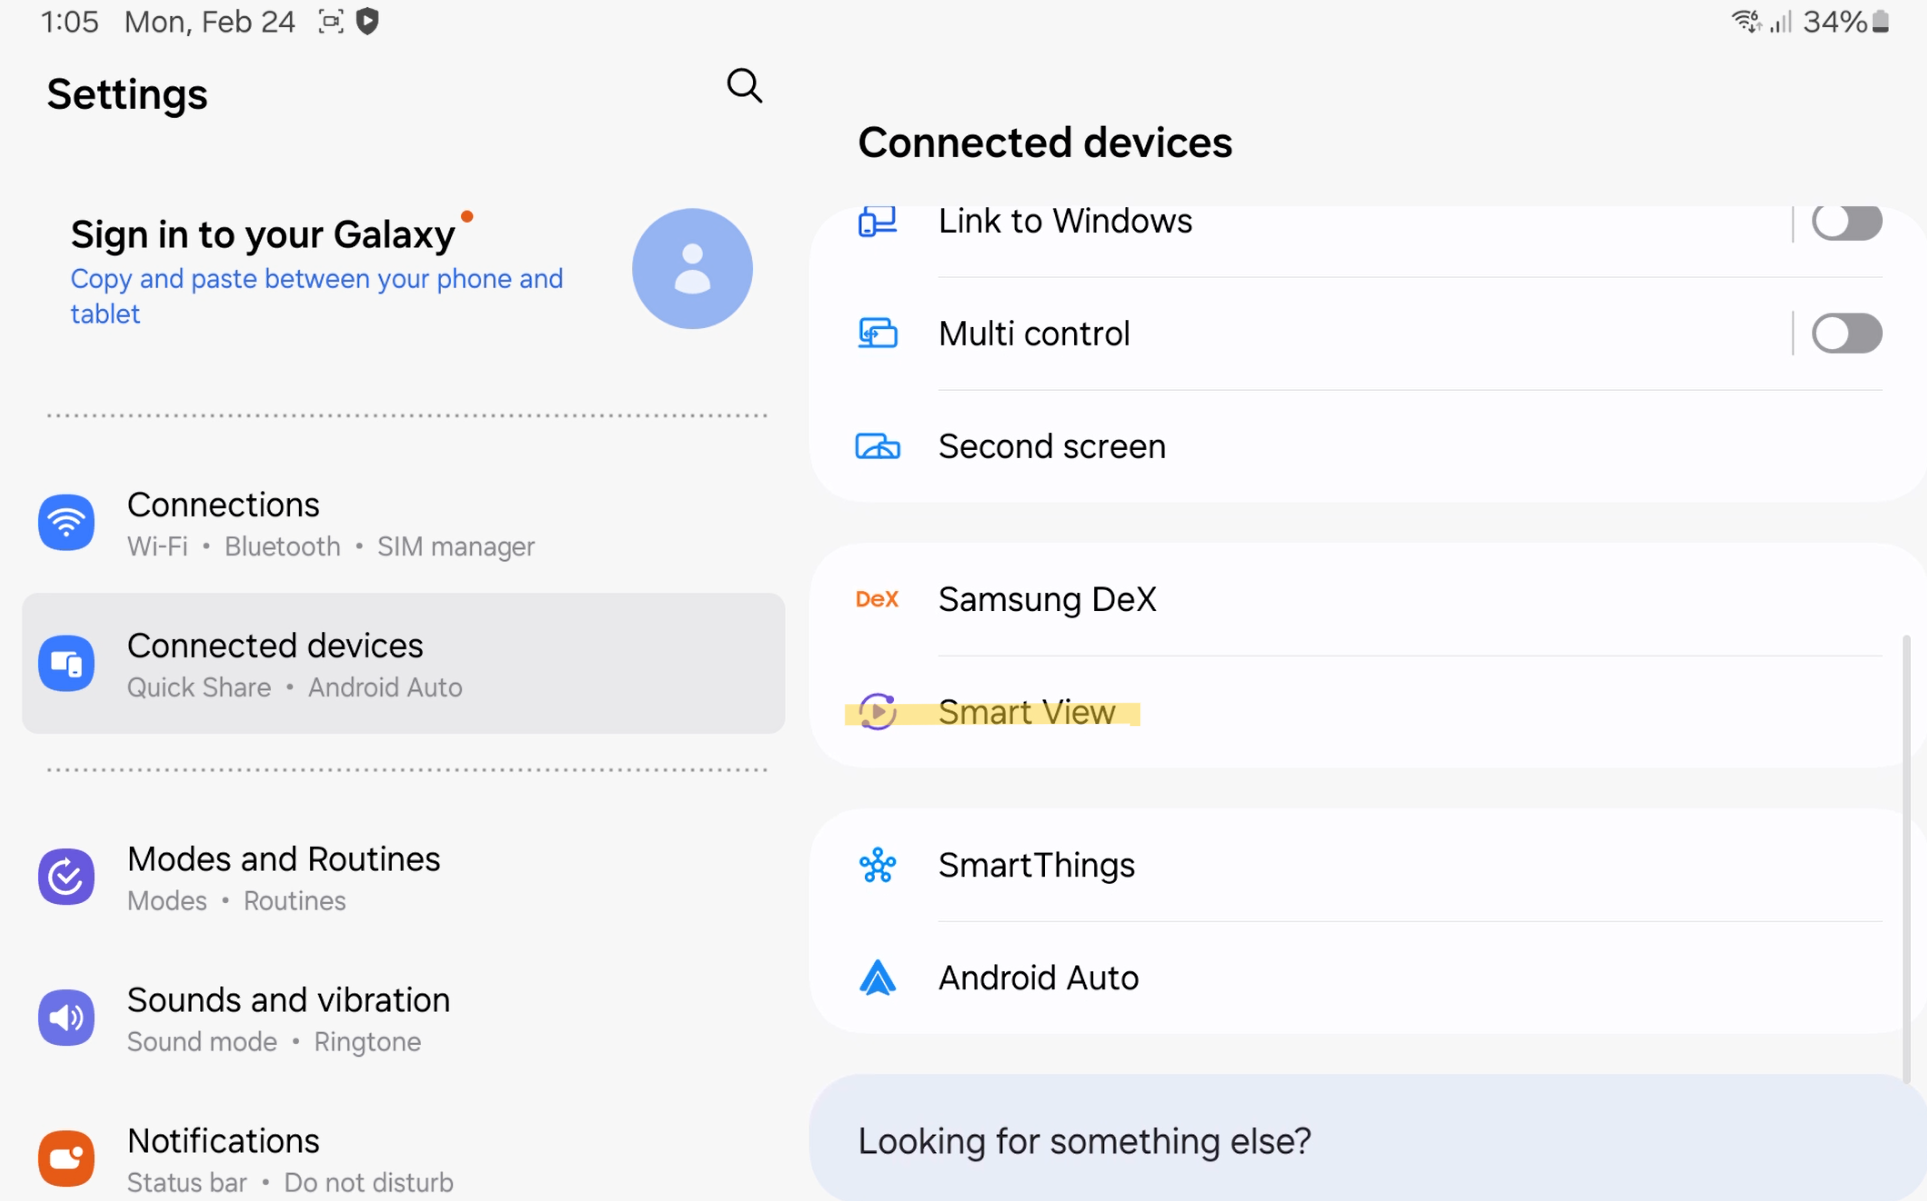
Smart View option under Connected devices
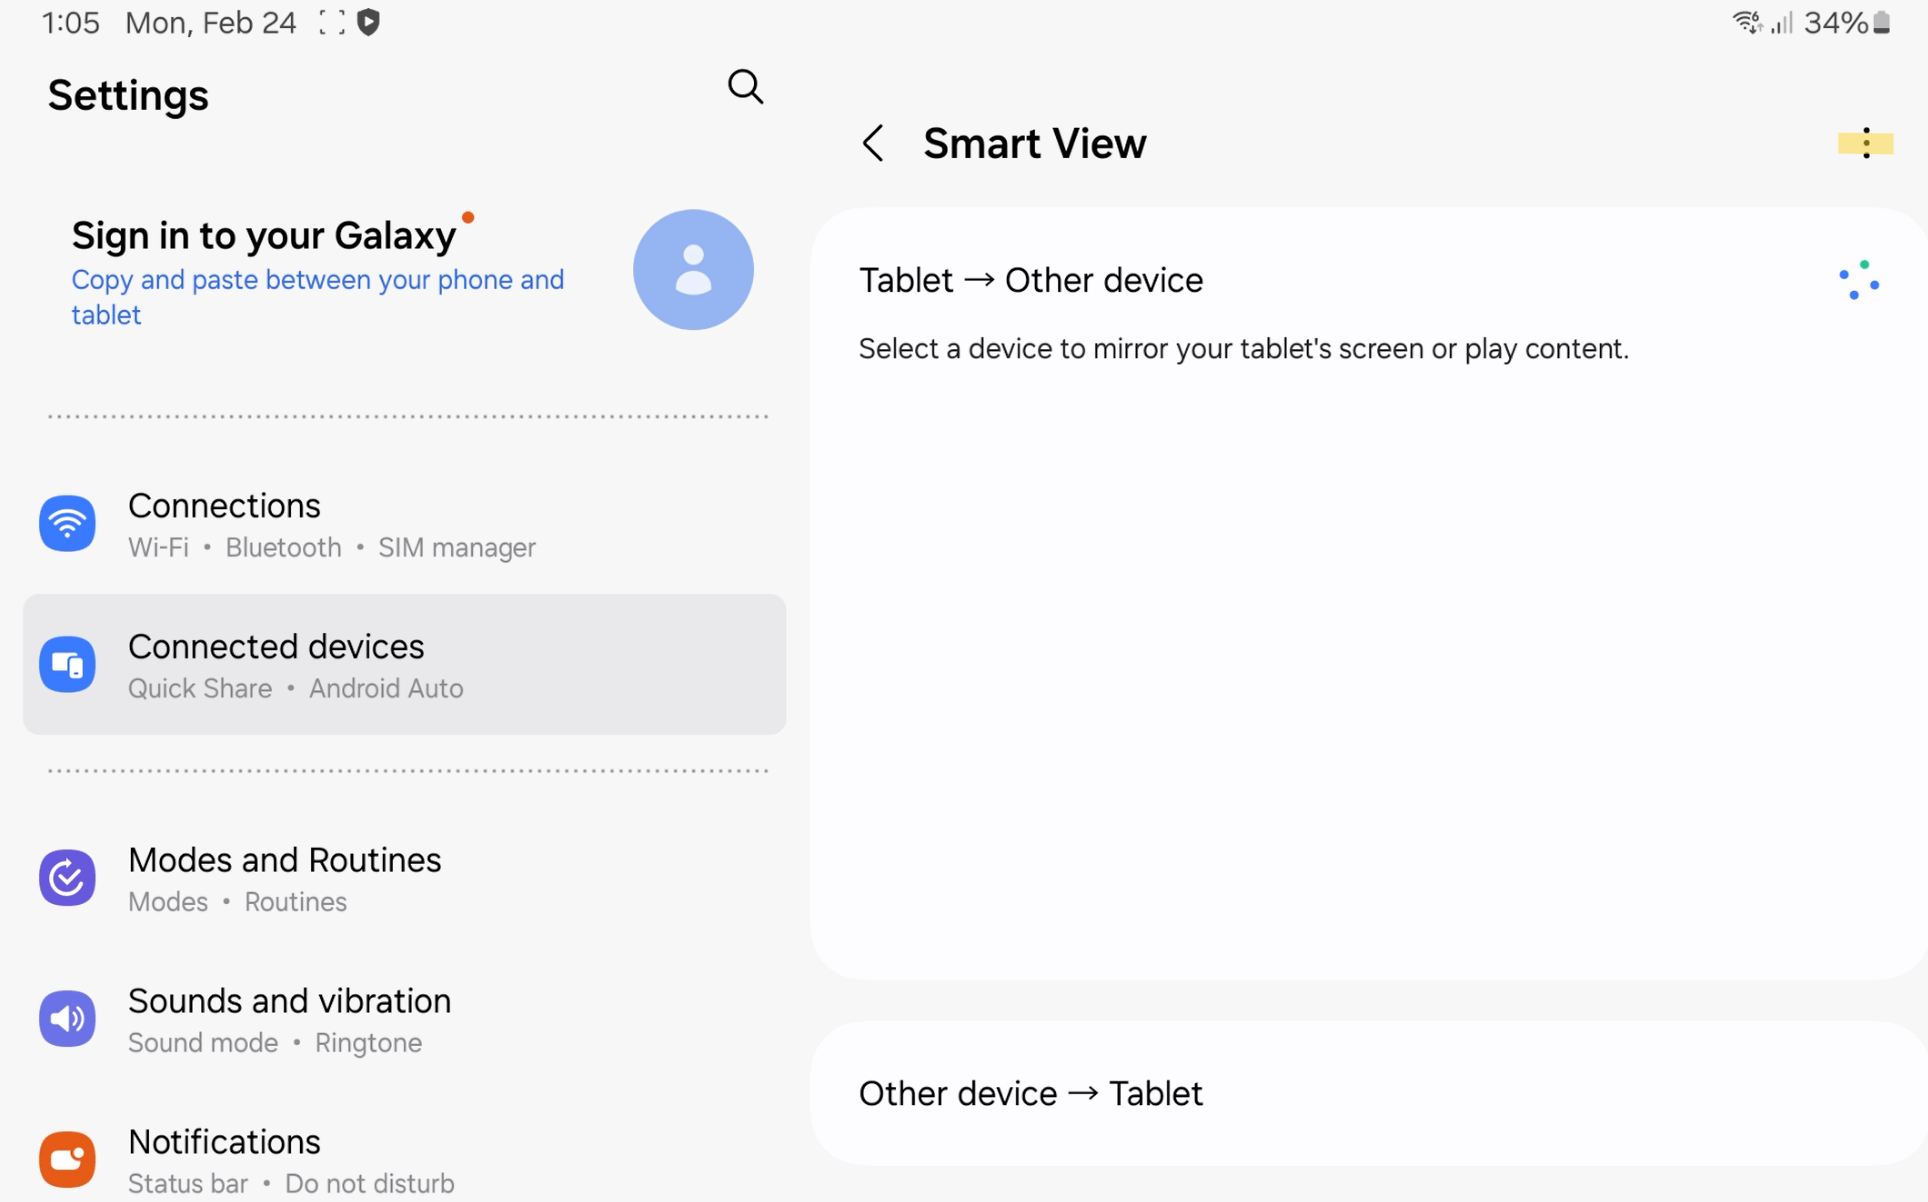
Smart View settings menu location
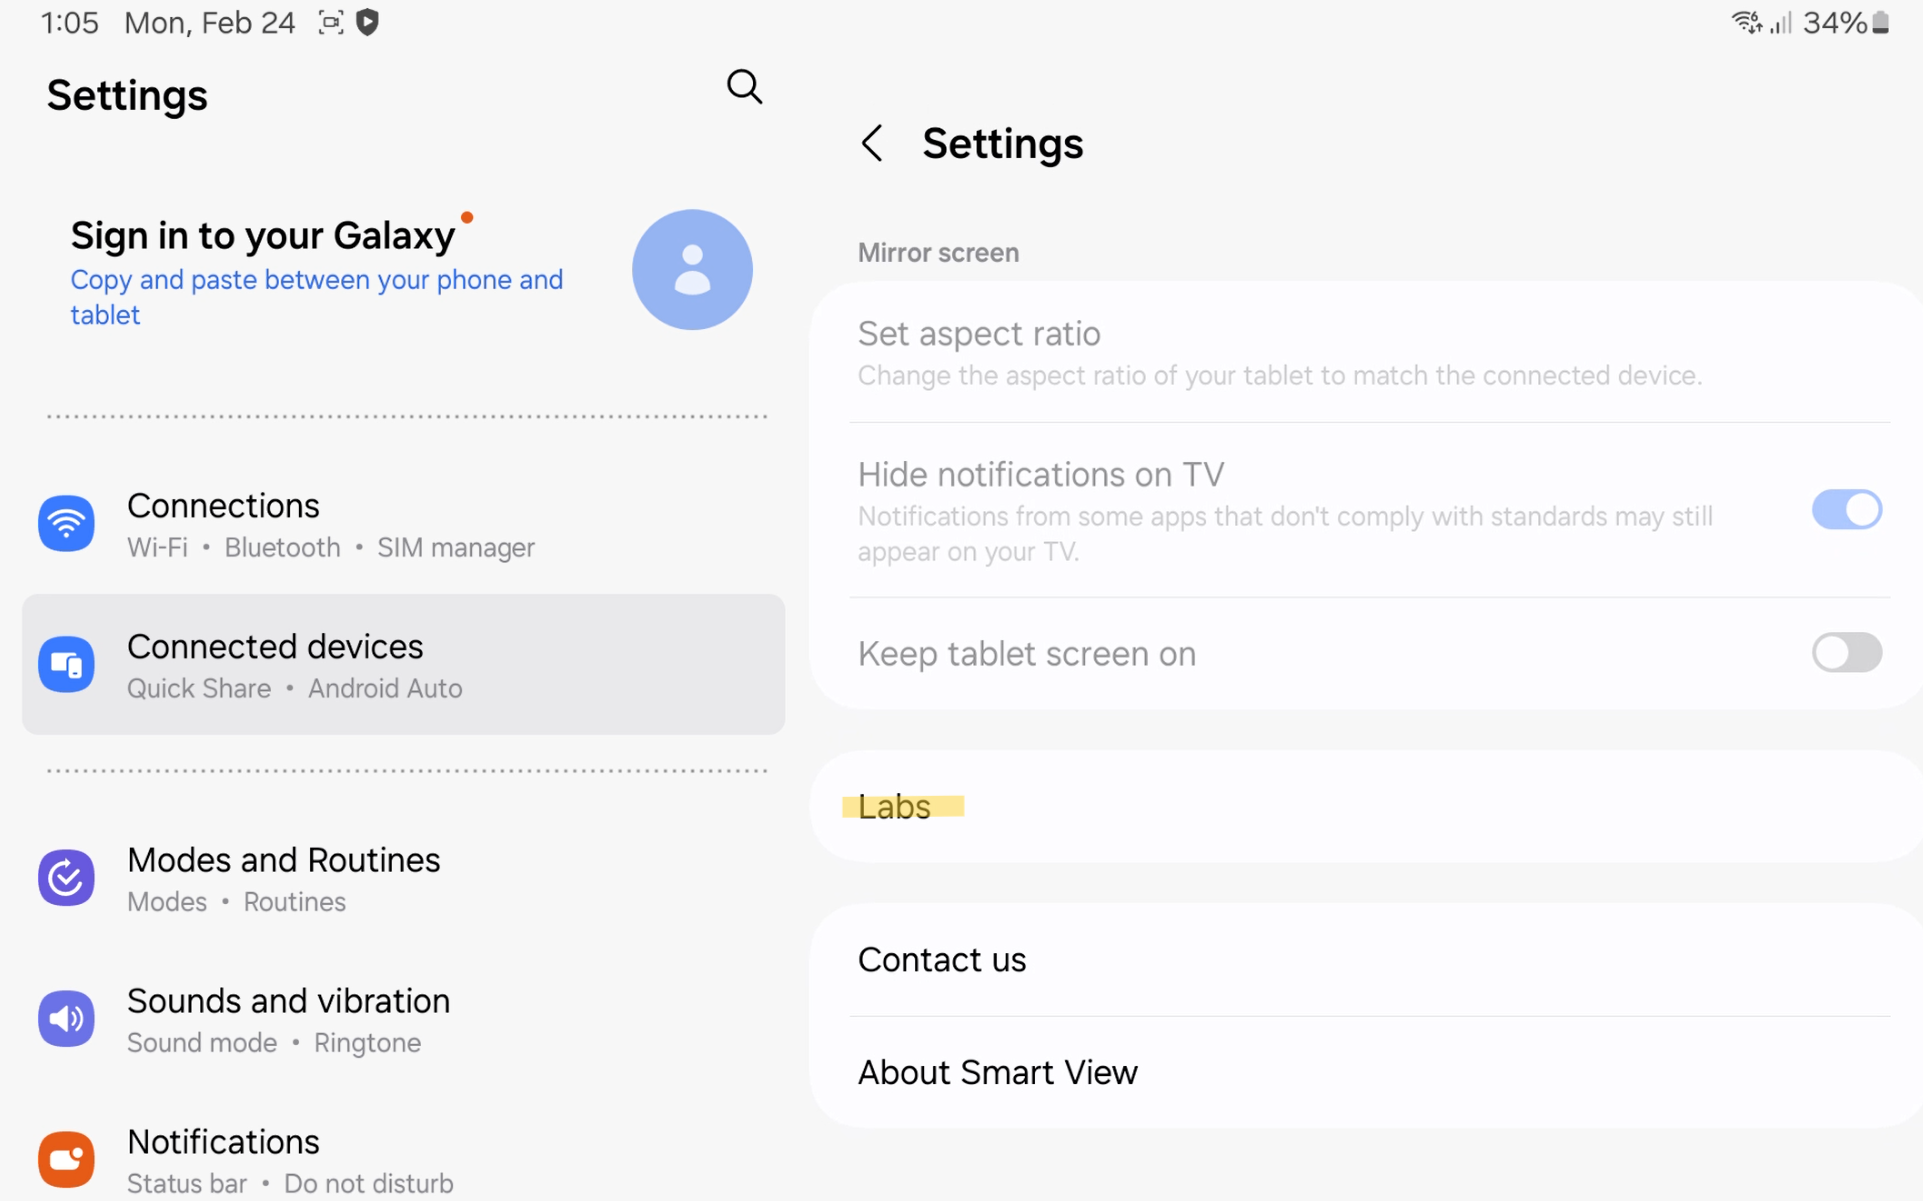
Smart View Labs Setting
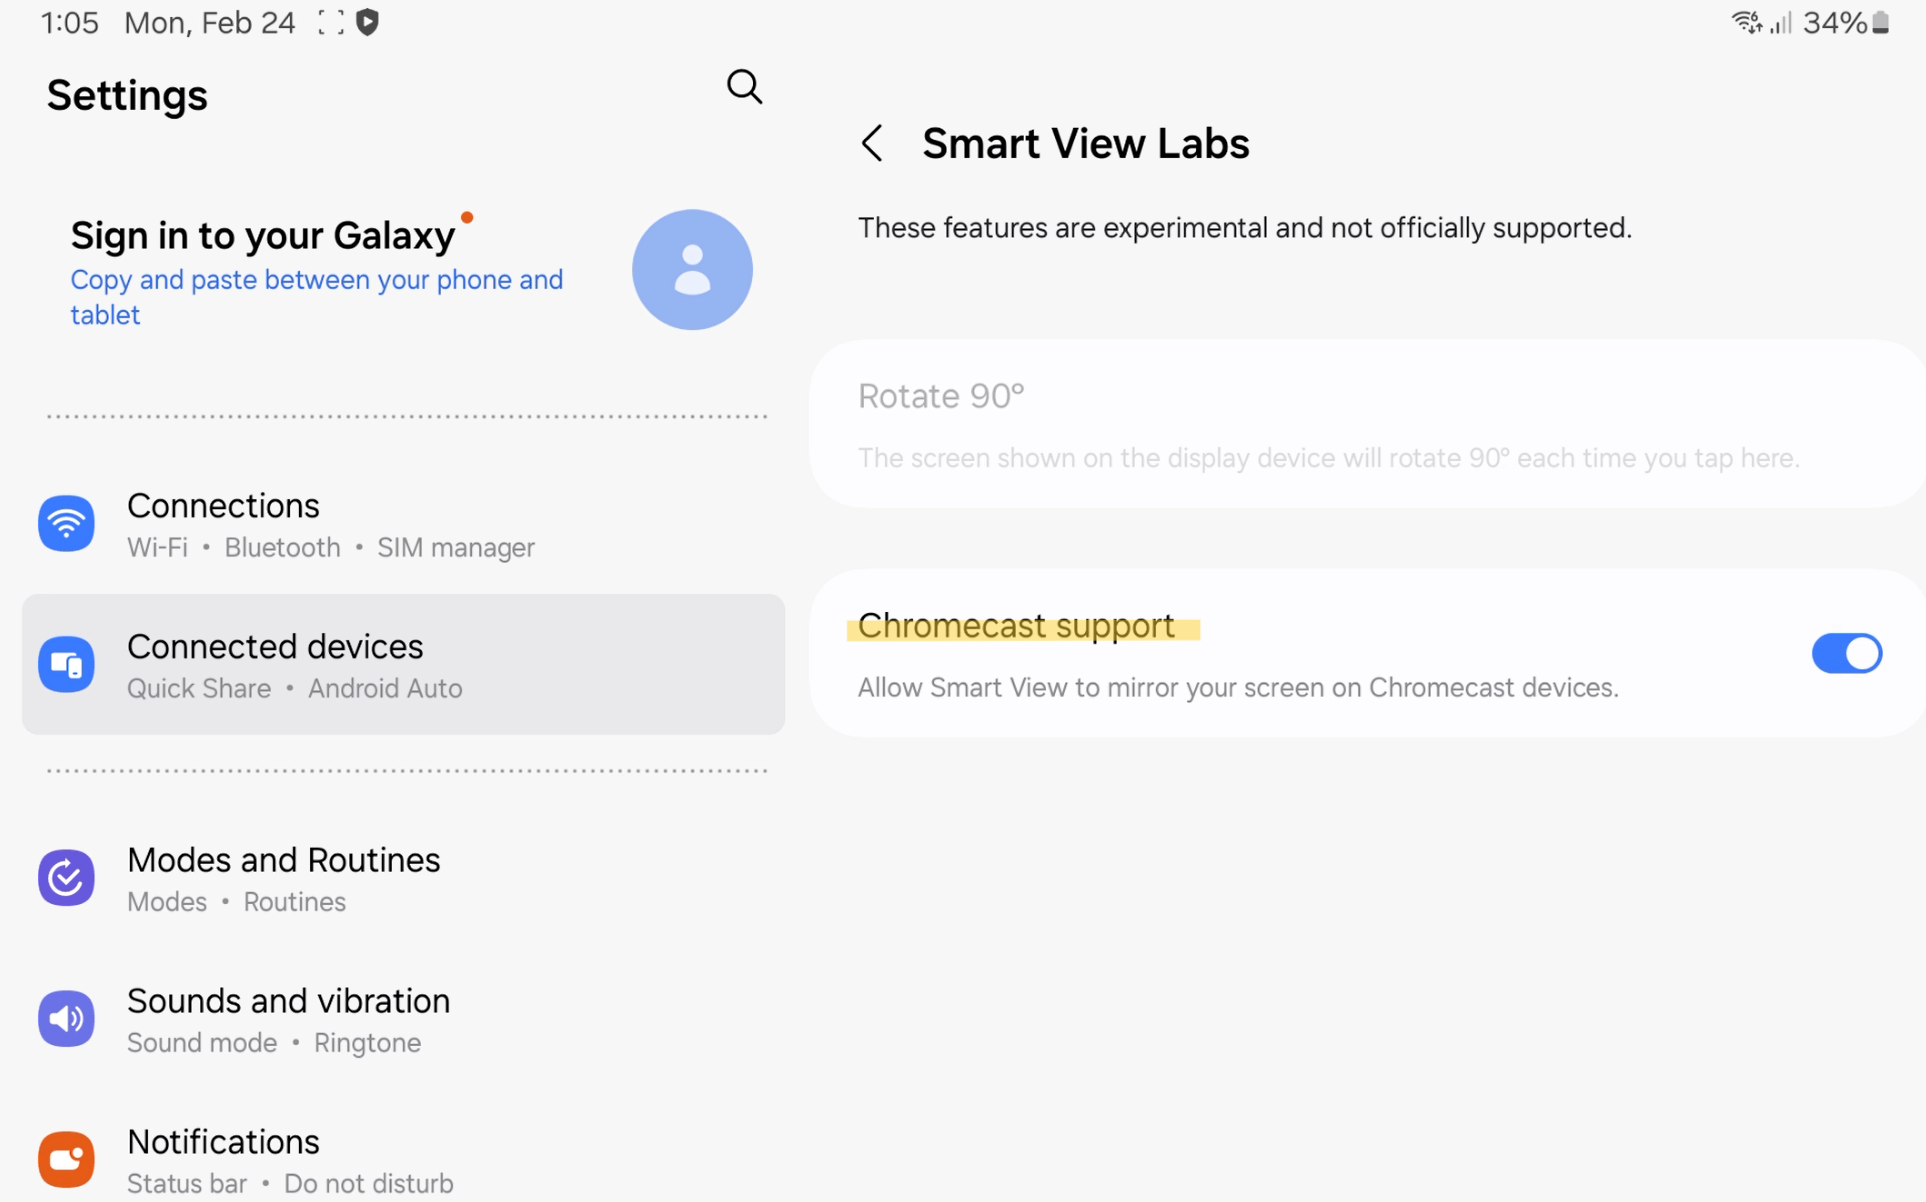
Enabling Chromecast Support
Enabling Chromecast support on the Tab 3

Smart View in Android settings
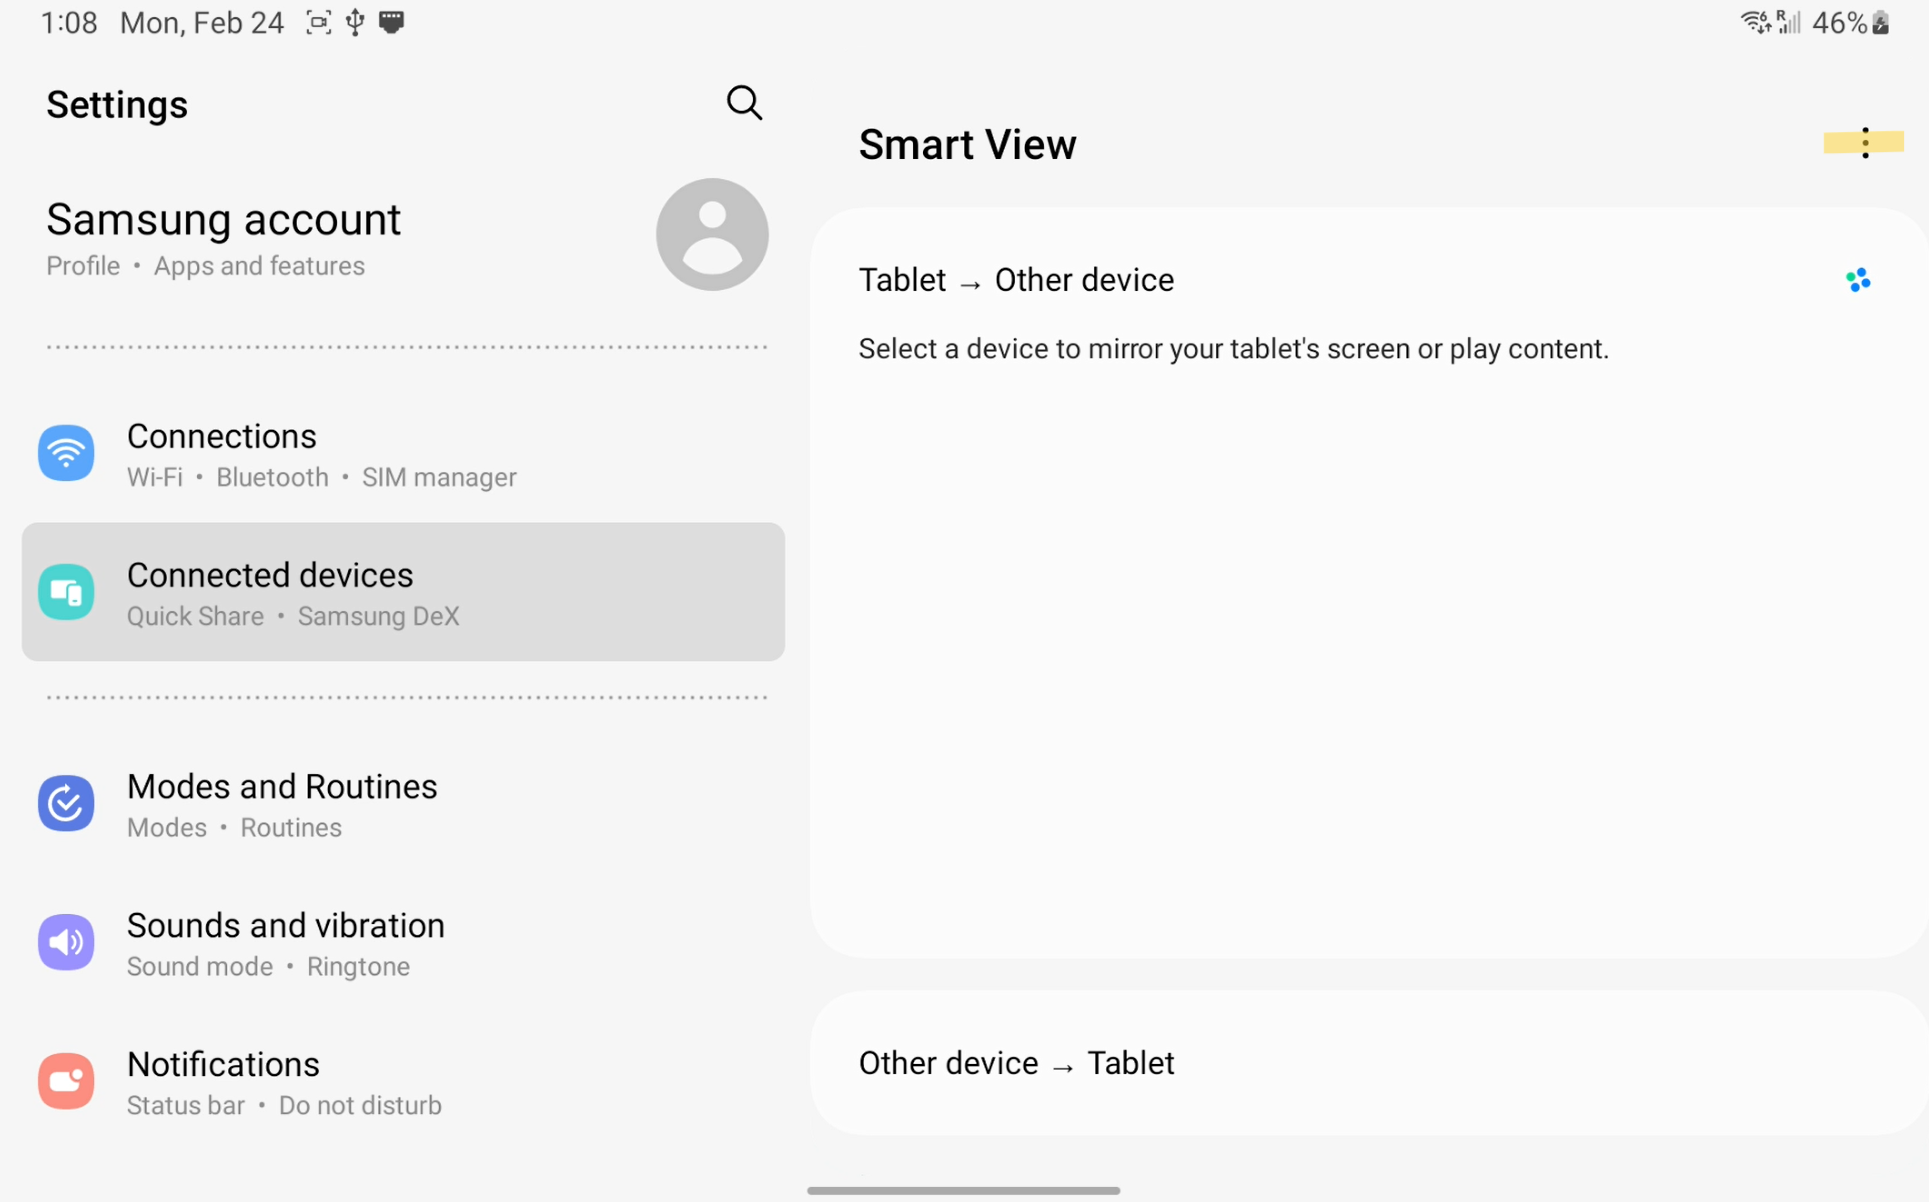
Smart View settings location
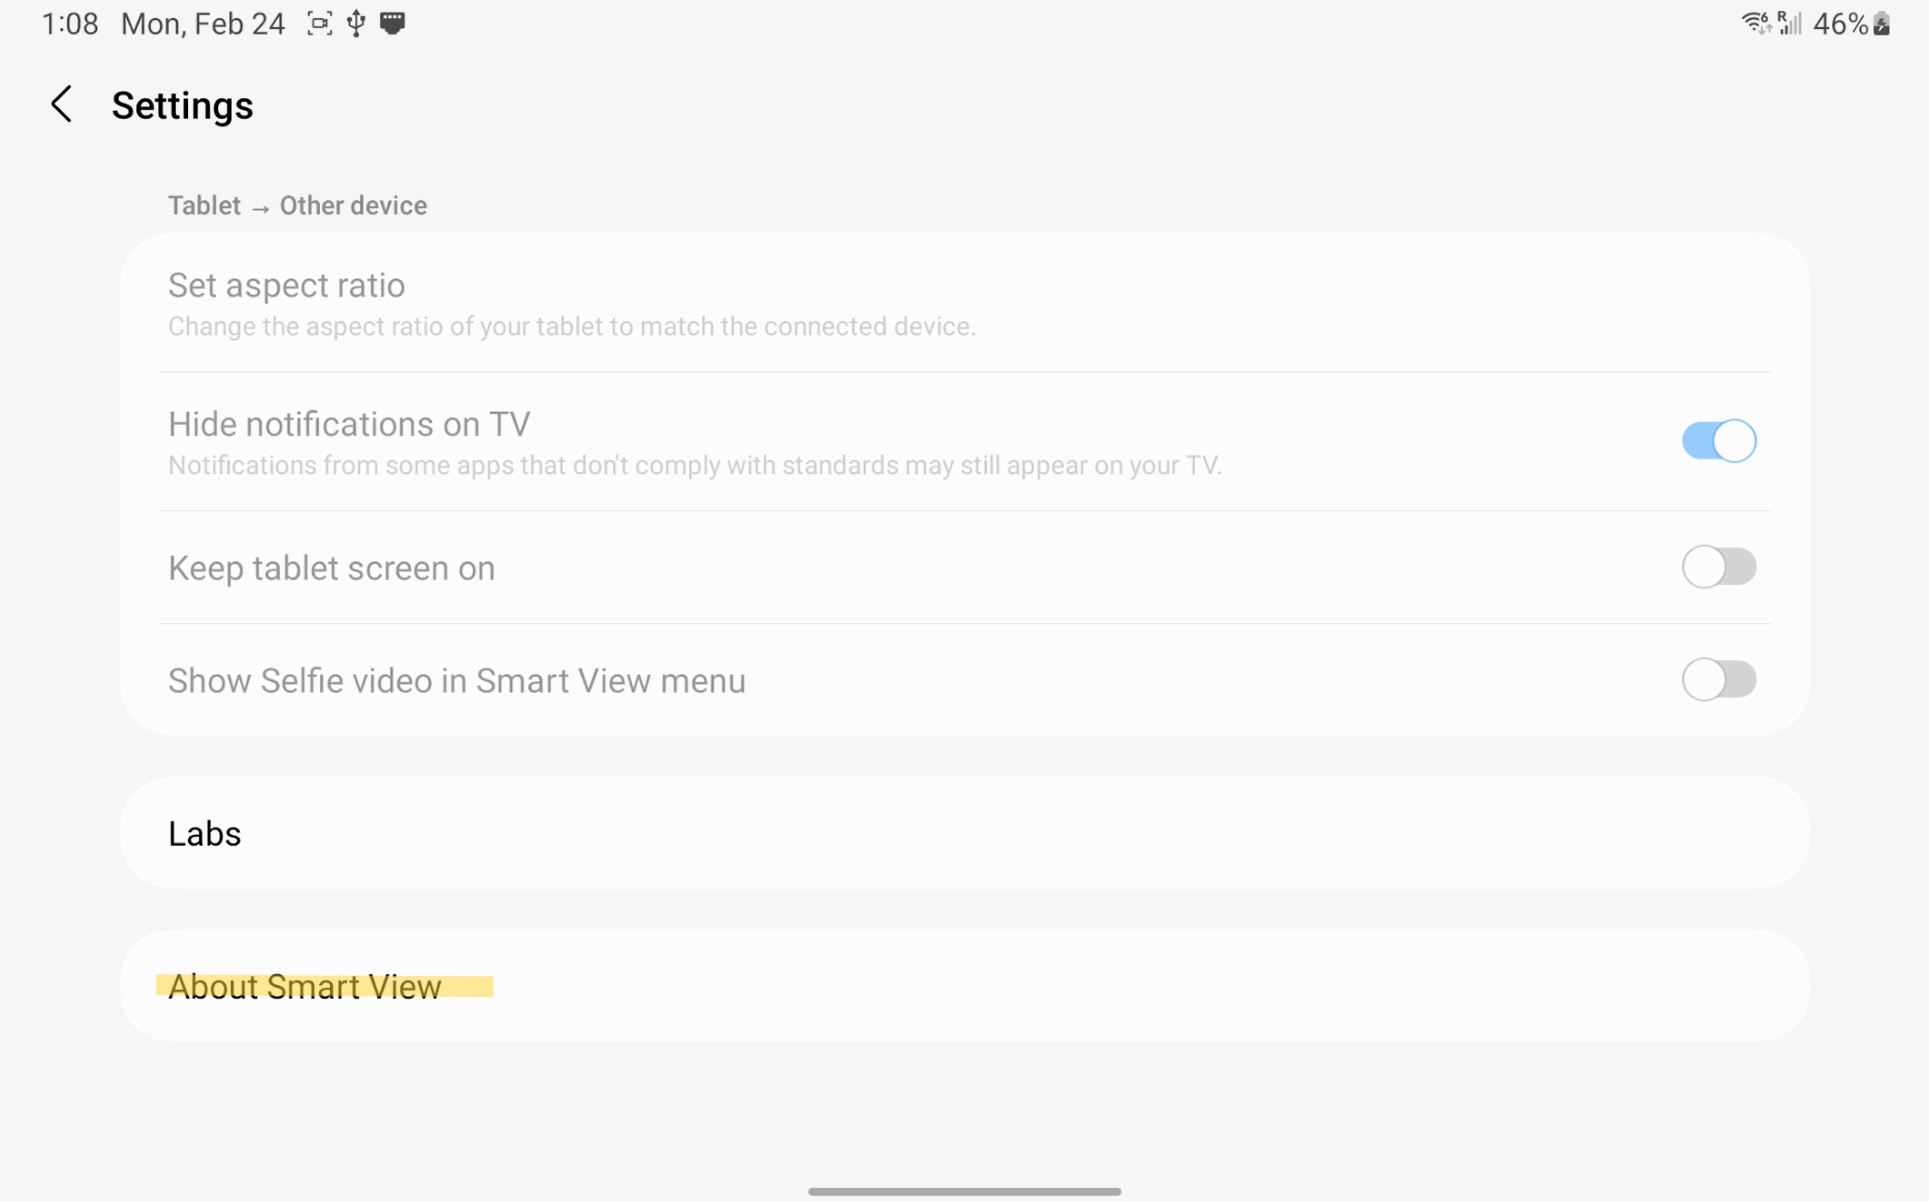
Smart View about page navigation
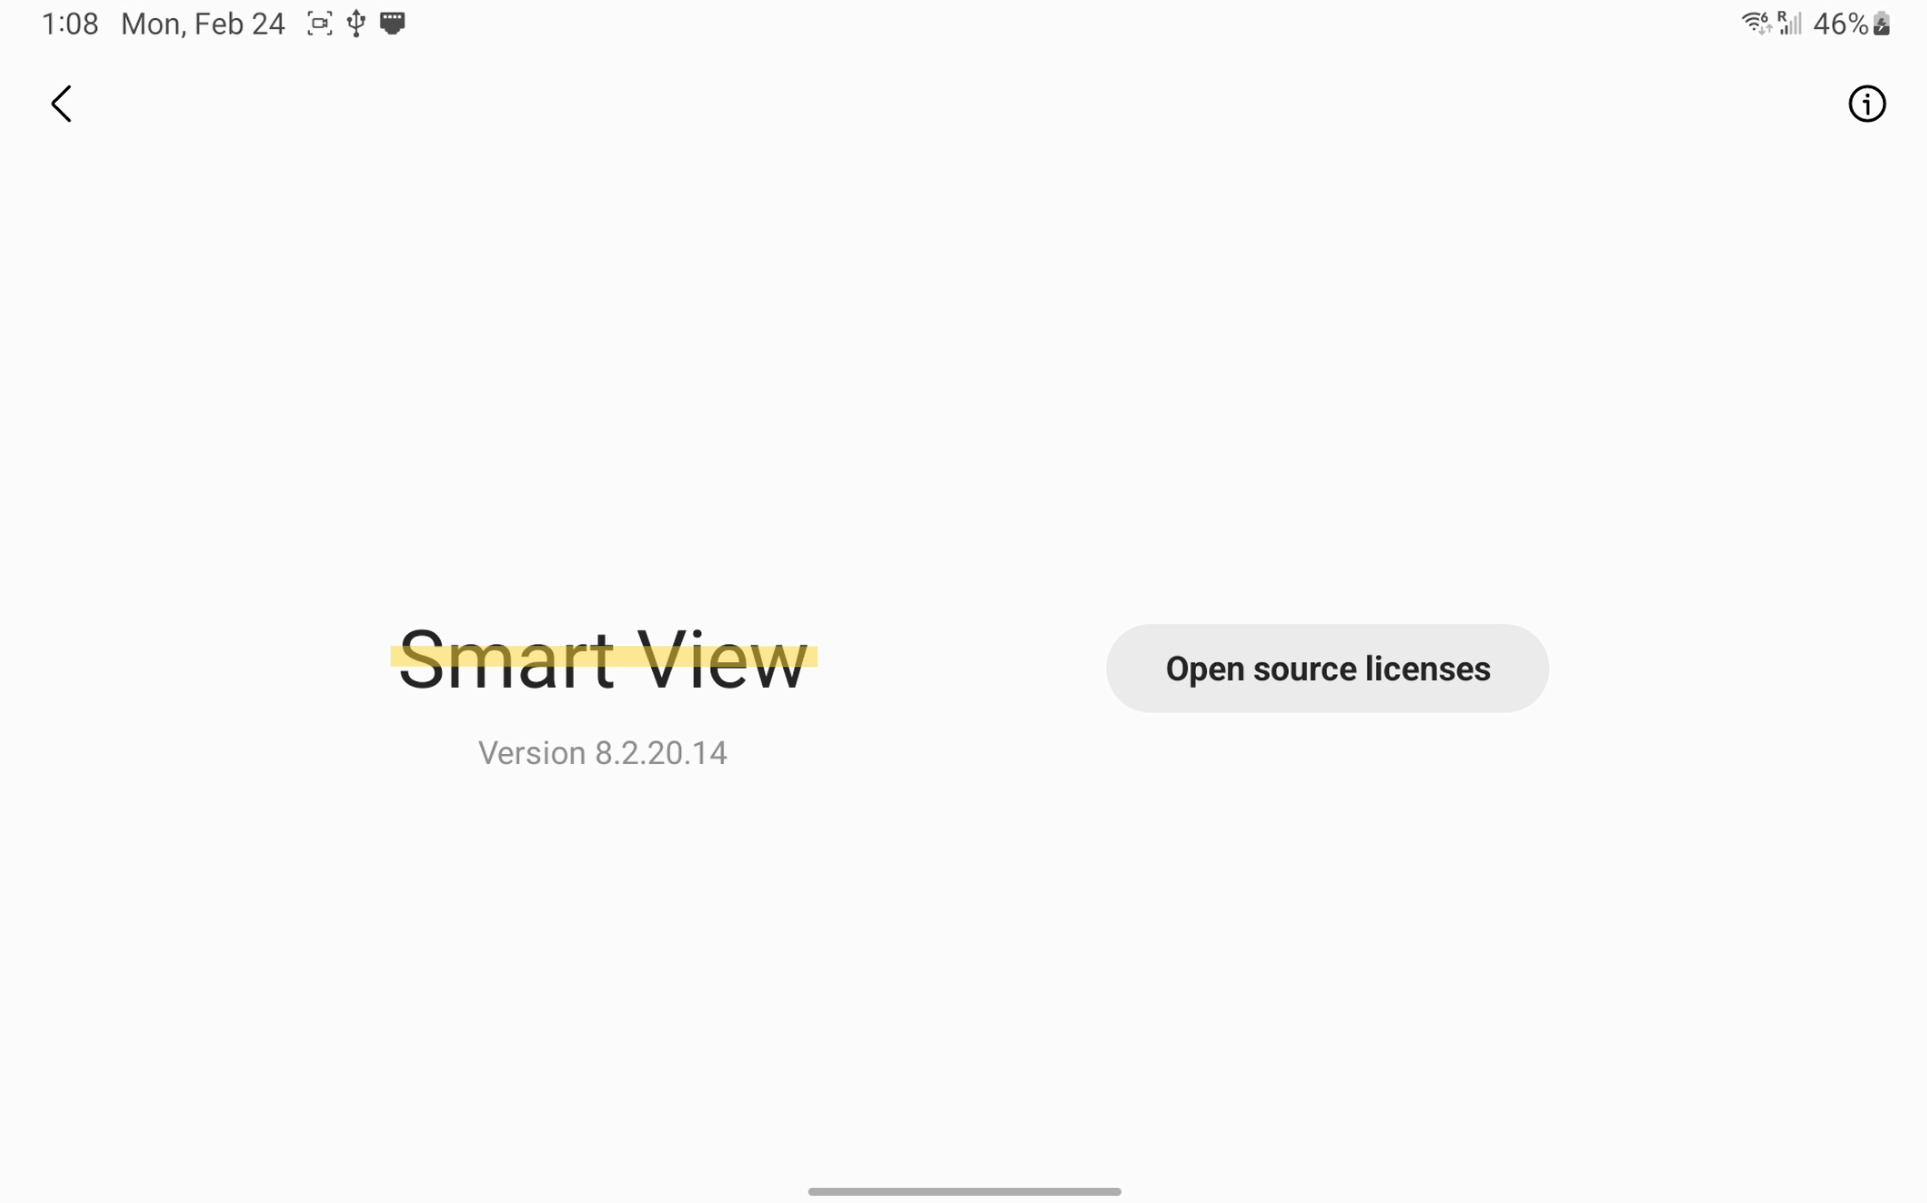
Smart View hidden developer options
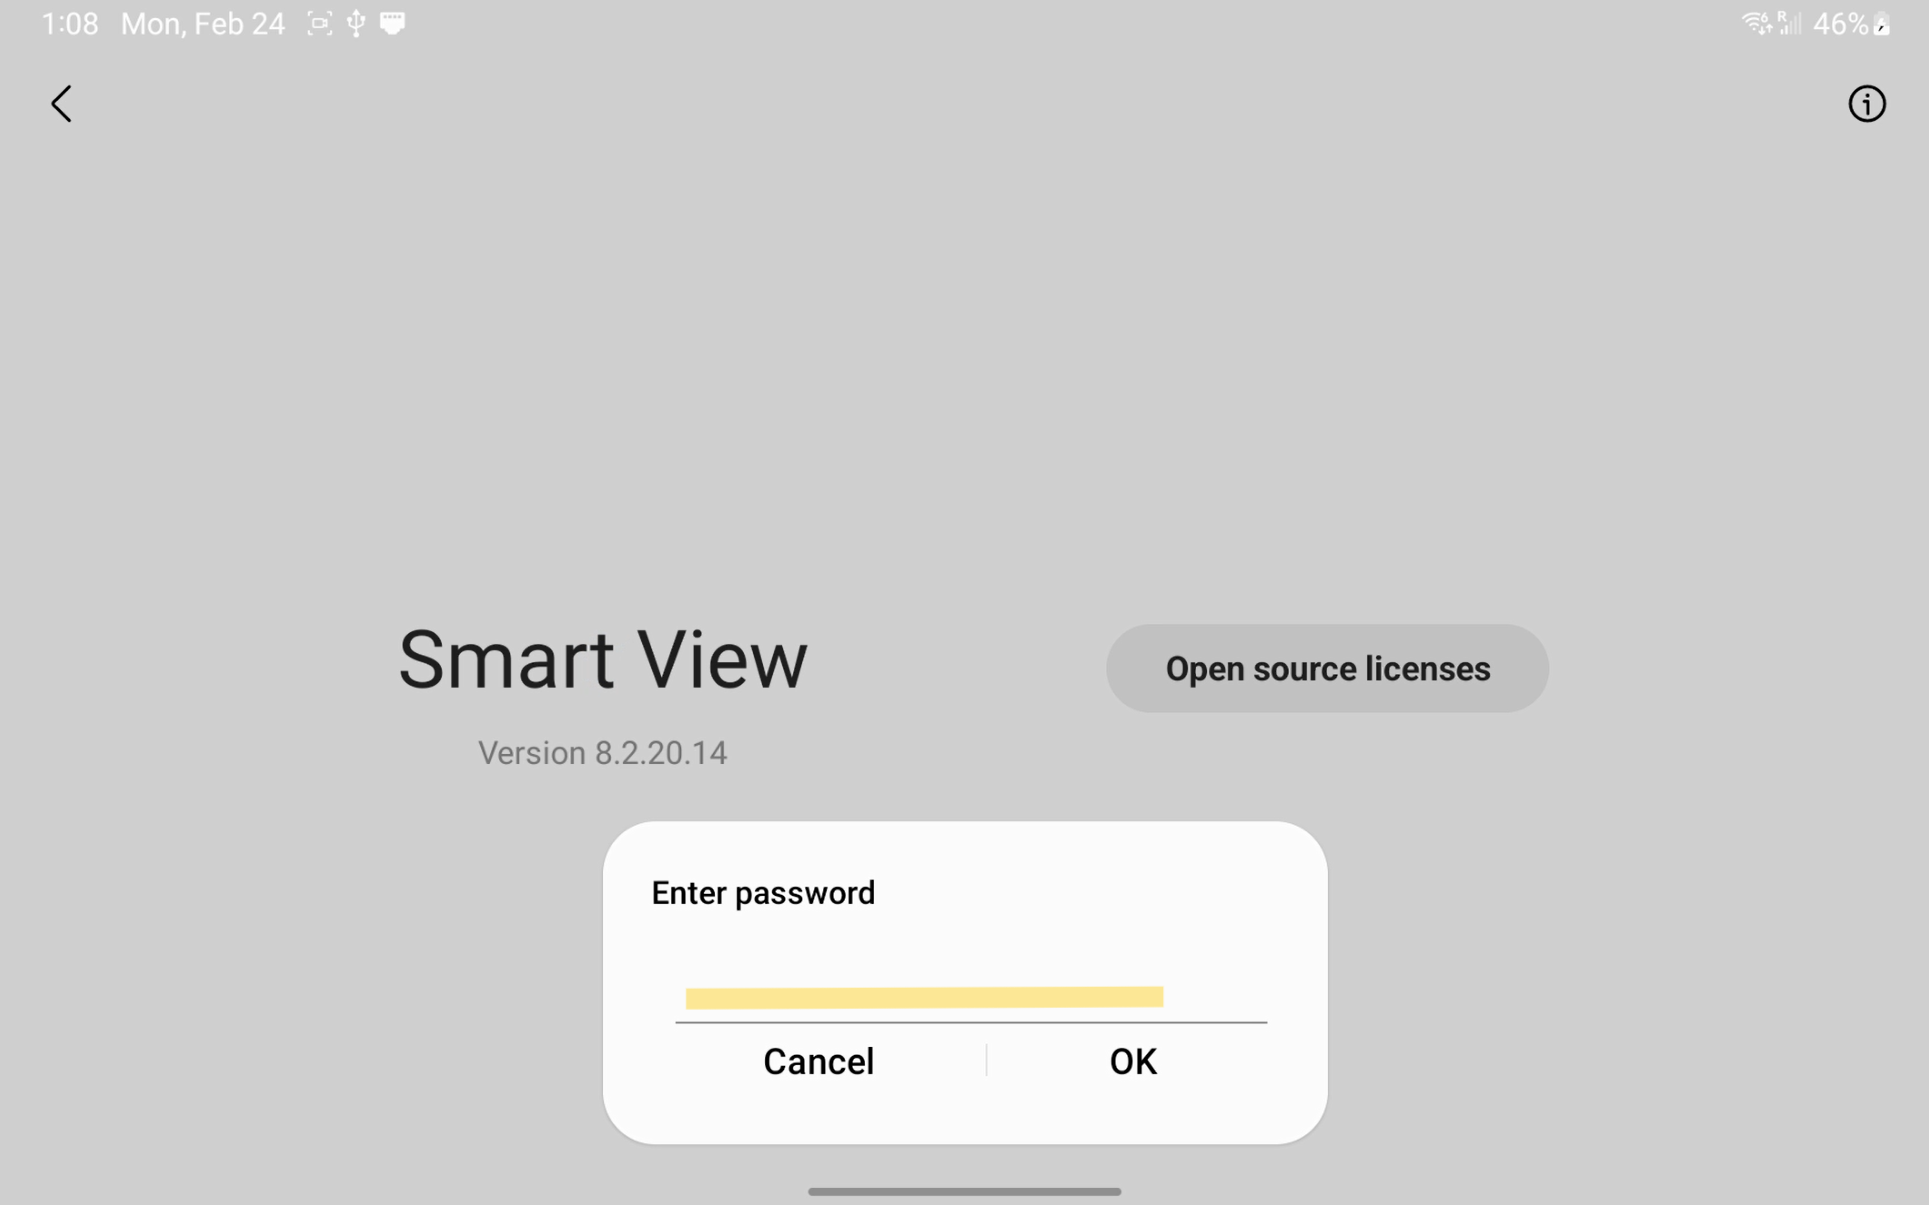
Smart View password entry for developer options

Enabling Additional Screen Mirroring Protocol